

I just made this really cute wreath for Spring. I am not a big fan of tons and tons of pastels which seems to be the norm for spring. Ever since I was little the thought of all those pastel colors just made me sick. I am the person when we went to purchase a car said the only requirement for color is that it had to be a non-color like black, silver, white, or gray. I have always preferred black and white photos even. I think there is just something classy and uniform about it. If you like all that color then that's great but it is just totally not me.
I saw this wreath here and was in LOVE with it. Robin's egg blue is one of my favorite colors and I don't get to use it as much as I would like to. I really love the primitive/farmhouse/country look and that is really where I am going with our decor in the house. Robin's egg blue doesn't get to make a big splash in our home because of it so when I can mix it in somehow I am happy to do it.


I also had another reason for really wanting to make the wreath. My mom had just given me some great picture frames that she no longer wanted. SCORE! Here's a peek at the 'before'.
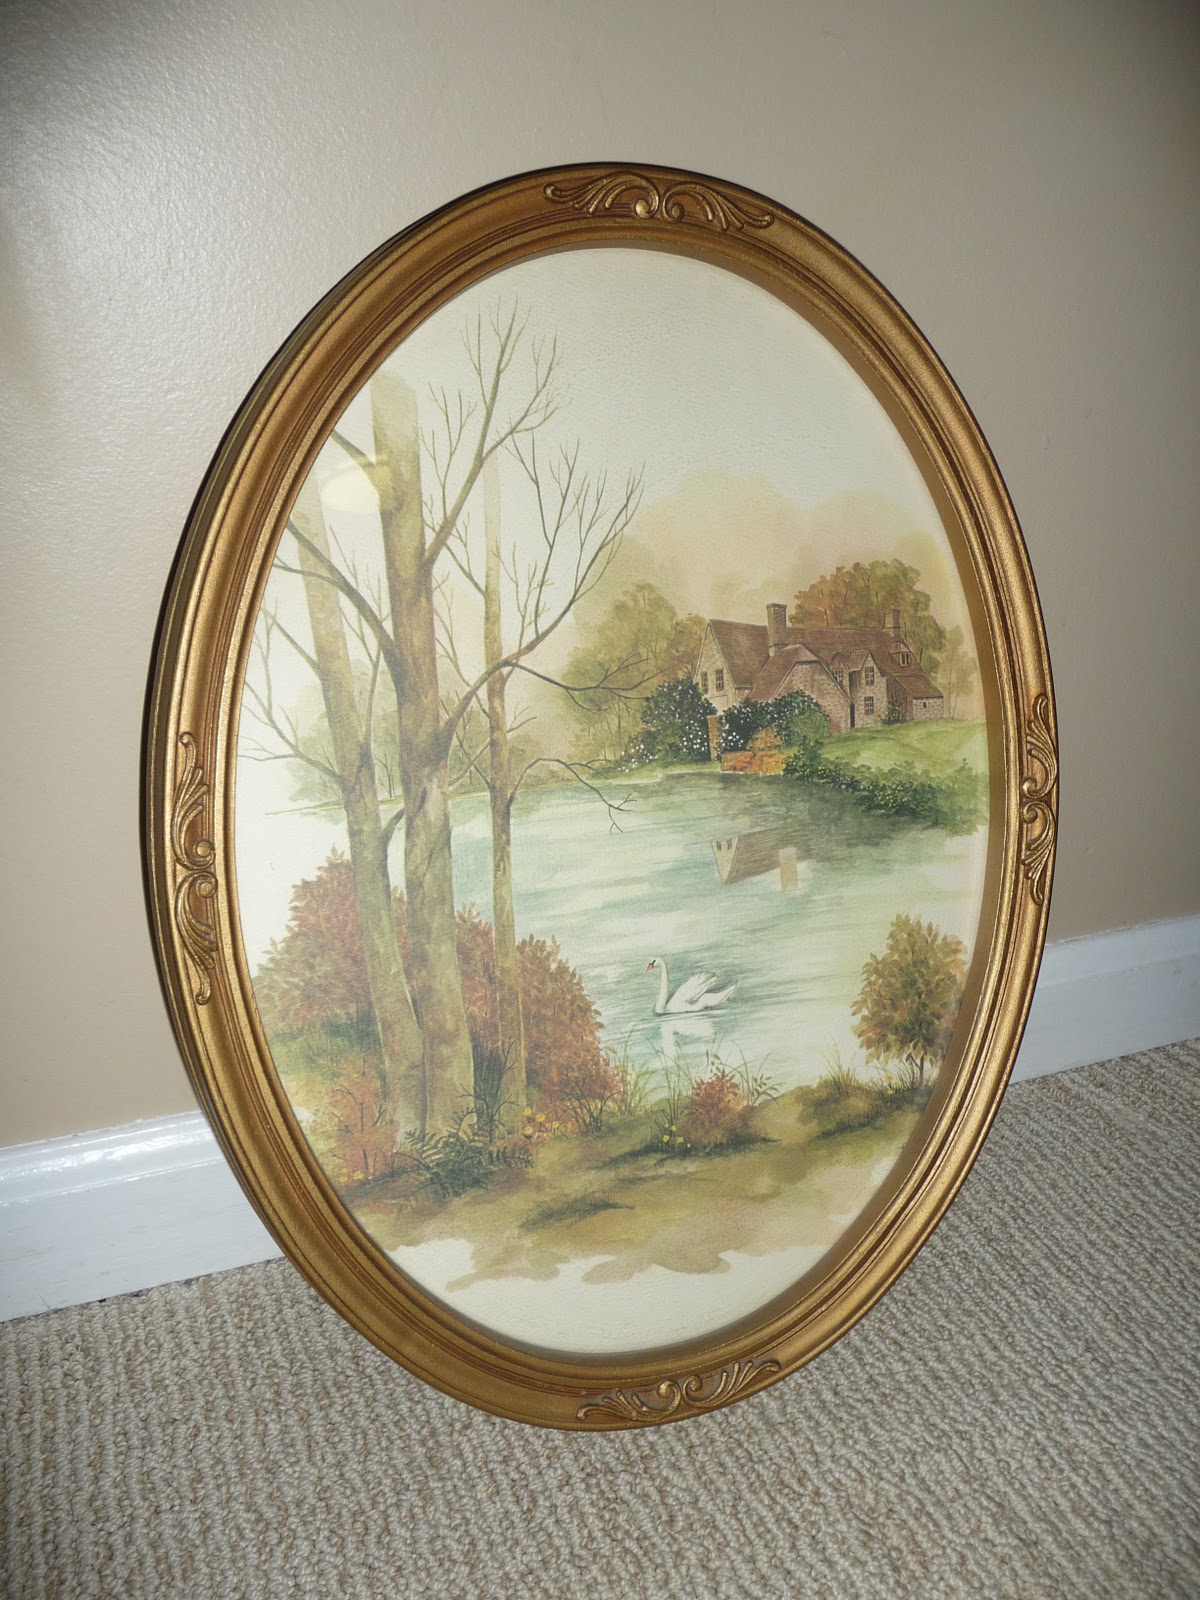
It was the perfect oval shape and kind of looked like a little egg itself. It looked at me longingly needing a new purpose for it's life. I was more than happy to oblige. I told my mom what I was going to do with it and I think she thought I was crazy at first. This was my first time using spray paint and let me tell you all I wanted to do was run around the house and look for other things to spray paint! What fun! It totally transforms what you are working with. I can tell you there will be a lot more spray paint projects in my future for sure! Who knew you could spray paint regular Easter eggs and make them look so different.
Picture Frame = Free
Easter Eggs = $0.77
Easter Grass = $2.00
Roll of Burlap Garland = $4
Nest = $1.50
Spray Paint = $4
Brown Paint = Already on hand
Total = $12.27
To make this wreath I spray painted the frame and the eggs with primer. Then I sprayed the frame and half the Easter eggs with some Rustoleum Aqua. It was the closest to the color I wanted at the craft store that day. I wasn't dragging two kids over to Lowe's to get a different color because I was gonna be picky. (o: Then I spray painted the other half of the eggs Rustoleum Antique White. I let that dry and did another coat or two to make sure they were thoroughly covered with the color. Then I took brown paint and added a little bit of water. Take a toothbrush and tap most of the paint off and with the remainder run your finger down the bristles and it will make those cute little flecks of paint on the eggs. You will need to experiment with this a little on just some white paper until you are confident you know what it will look like or you might be spray painting more eggs. I took the square of grass and cut out a piece for the sides and one little one for the top of my oval frame. I hot glued it to the picture that I had cut a real big oval out of and flipped it around. The backing was brown so it worked good enough for me. I hot glued the grass in place and then used some thin green floral wire to close the end into the eggs and then wrap the other side around the grass to keep the eggs in place. I made a nice big bow out of the burlap and also attached the bow with more of the floral wire. DONE!
My door out front officially looks like spring. Please excuse our front door. That will be getting an overhaul and will be another blog post coming up. It is getting sanded down and painted a nice black with the little knocker on the front getting spray painted a nice brushed silver. I can't wait. It will be like a whole new door!
I hope you have a blessed day! †
·.¸¸.·´´¯`··._.· ஐ Rebecca ·.¸¸.·´´¯`··._.· ஐ
Very festive! Great job!!
ReplyDeleteThanks so much for linking to "20 Below Thursday"! :)
Very cute--love the atypical oval shape for a wreath. Thanks so much for linking up to Beyond The Picket Fence.
ReplyDelete